How to propagate cuttings
|
After raiding your garden or a friend’s garden for a handful of cuttings, here is how to successfully propagate them.
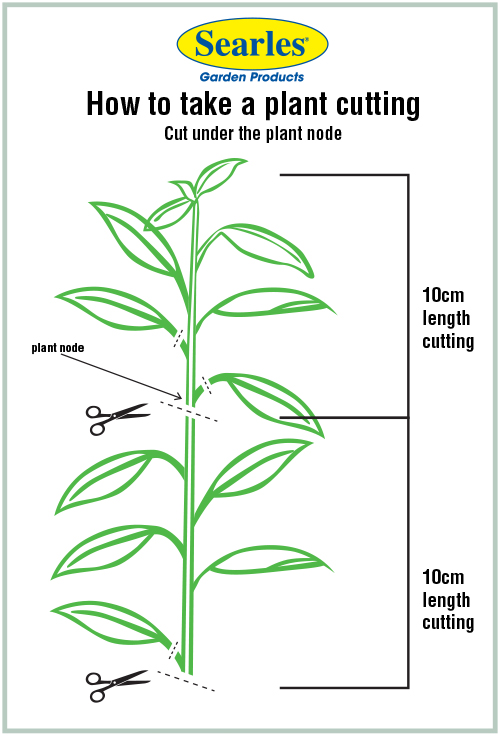
How to take a cuttingIdeally plant your cuttings just after you have taken the cuttings. The fresher and healthier the stem condition the better strike success rate. If this is not possible, keep ends moist until planting. When deciding to take a cutting, look for a healthy stem about 10cm long. Make a diagonal cut under a node of leaves or forming bud and then remove most of the remaining leaves, especially the lower leaves on the cutting, to concentrate growth on forming roots. Take several more cuttings than needed as some may not strike roots.
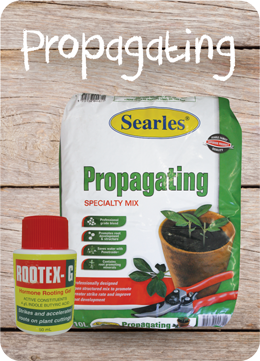
How to plant a cutting Fill a propagating tray or small pots with Searles Propagating Mix. This mix is a professionally designed open structured mix, containing specific nutrients and minerals to promote greater strike rates and improve root development.
Make a prepared hole for each cutting with a dibber. A dibber is a pointed wooden stick used for creating holes. A pencil, chopstick or bamboo stick can be used as an alternative. Creating this hole will protect exposed plant tissue and keep the rooting hormone from being removed as the cutting is placed in the hole.
To further aid root development, dip the cutting into a rooting hormone. This can be a powder, liquid or gel. Rootex Cutting Powder or Rootex Gel is an easy to use product.
Gently insert each cutting into the hole to a depth of 4-8cm and lightly press the surrounding soil up to the stem of the plant.
If you have taken multiple cuttings of different plants. Label and date each variety for future reference.
Moisten mix gently and keep soil moist during the whole root growth period otherwise the plants will die. Do not over water the cuttings either. Excessive watering will drown the emerging roots. Cover cuttings planted in a tray with a lid or a piece of clear plastic. Soft drink bottles with the bottom cut out, lid removed, and placed over the cutting make excellent greenhouses to keep the moisture in. Every couple of weeks remove the cover to air the cuttings and harden the plant. Position cuttings in a well-lit shaded area away from rain, wind and excessive sunlight and kept moist until roots have started to form.
Roots begin to form after 8 to 12 weeks. To test whether the roots are forming, give the stem a light pull upwards, there should be some resistance. The development of new leaves is another indicator of forming roots. Look underneath the tray for roots growing out of the bottom.
Once roots have formed it is time to plant out into the garden or larger decor pots.
|
--------------------------------- |


